Well my last post was a bit of a rant, and I need to reread it and edit it. In the meantime here is a refreshing bit of creativity! I did one and then started kicking myself for not taking before and after pictures, and then realized I had another picture/frame that I COULD do before and after pictures on! So this is my way of apologizing for posting an unedited rant previously. Hope you enjoy!
I scrapbooked growing up, and unfortunately only have one of my old scrapbooks; which is unfinished. The rest were destroyed in my parents housefire several years ago. It sort of took the wind out of my sales as far as investing in scrapbooking supplies etc. (its NOT cheap!) and honestly the styles have changed so much from what I grew up with. Instead of the papers and stickers simply embellishing the pictures, the pictures are kind of the final pizzazz one adds to this glorious art piece of paper, stickers, fibers, beads, etc. SO I just haven't messed with it much and moved on to other hobbies. But when I saw these frames a year or so ago my creative wheels started turning and here is the end result.
I scrapbooked growing up, and unfortunately only have one of my old scrapbooks; which is unfinished. The rest were destroyed in my parents housefire several years ago. It sort of took the wind out of my sales as far as investing in scrapbooking supplies etc. (its NOT cheap!) and honestly the styles have changed so much from what I grew up with. Instead of the papers and stickers simply embellishing the pictures, the pictures are kind of the final pizzazz one adds to this glorious art piece of paper, stickers, fibers, beads, etc. SO I just haven't messed with it much and moved on to other hobbies. But when I saw these frames a year or so ago my creative wheels started turning and here is the end result.
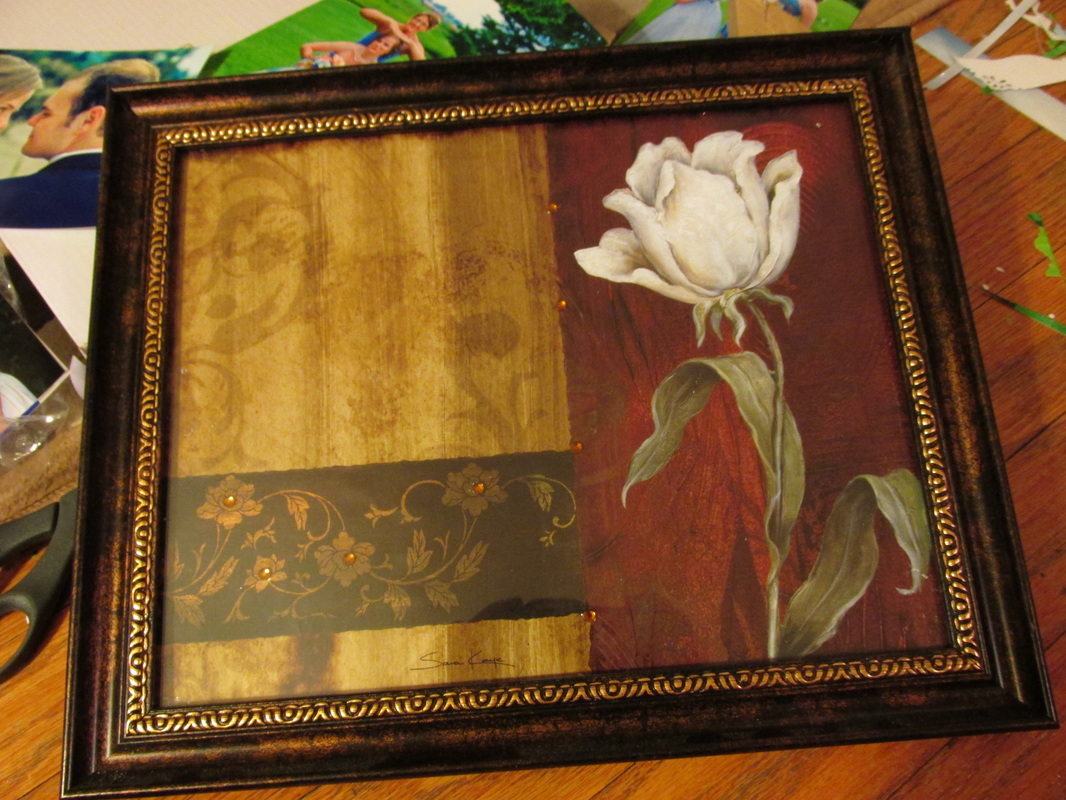
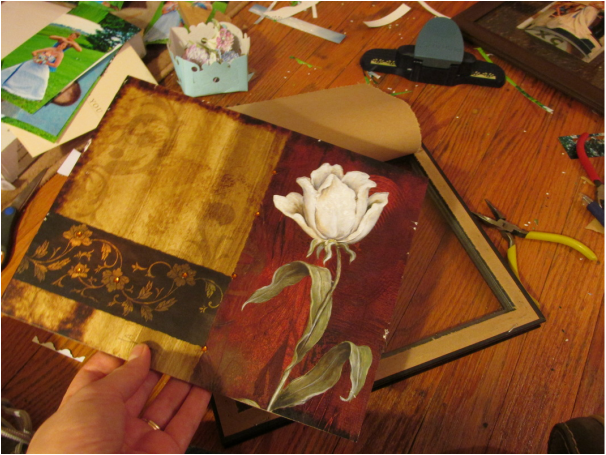
1. Step One: Pick your piece of art that you are going to embellish
I bought mine at Garden Ridge while they were having one of their glorious 90% off sales. I think this cost me about $1.50 or less. SO that includes the frame, glass, and artwork.
I bought mine at Garden Ridge while they were having one of their glorious 90% off sales. I think this cost me about $1.50 or less. SO that includes the frame, glass, and artwork.
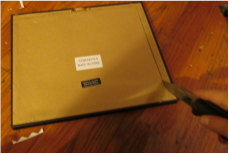
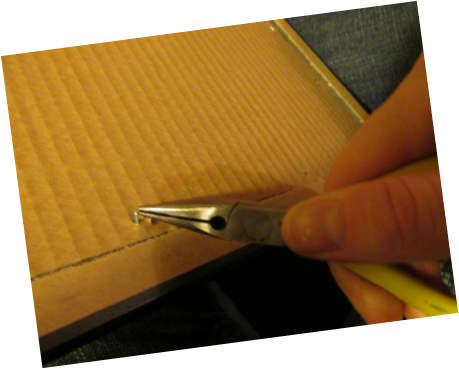
2. Step Two: CAREFULLY cut a slit in the brown paper backing.
If I were a professional crafter, I would say pull out your crafter knife. However, this is an old blade of my husbands that he gave me for gardening... and its rusty. Very professional, eh?
If I were a professional crafter, I would say pull out your crafter knife. However, this is an old blade of my husbands that he gave me for gardening... and its rusty. Very professional, eh?
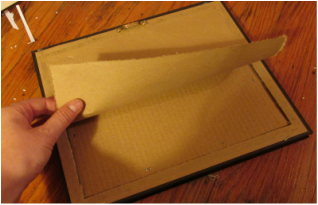
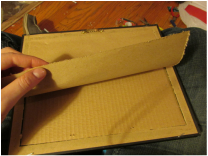
3. Step Three: assess your art piece.
What I mean by this is notice how the art is attached to your frame. I thought originally the art pieces were on paper backed by cardboard. Instead, the art was glued to the cardboard, the cardboard was then tacked to the frame, and then brown paper glued over the whole thing. I was disheartened for a few moments but then grabbed a pair of needle-nosed pliers and got to work.
What I mean by this is notice how the art is attached to your frame. I thought originally the art pieces were on paper backed by cardboard. Instead, the art was glued to the cardboard, the cardboard was then tacked to the frame, and then brown paper glued over the whole thing. I was disheartened for a few moments but then grabbed a pair of needle-nosed pliers and got to work.
4. Step Four: detach art from frame
Yay for needle nose pliers! I did break a nail on these suckers on the first frame. But with the help of the pliers they were surprisingly easy to extract.
Now you may be thinking that this is an AWFUL amount of work to put into this thing. But if you are saying that then 1. you clearly don't remember scrapbooking and 2. remember this is a BUDGET project. And I've found that what you don't pay upfront in $$ you pay down the road in time and effort. SO it just depends on what trade off you want this particular day.
Remove the art from the frame and see if there is any damage you need to clean up. Mine came out of the frame a little rough so I polished up the edges with stickers or planned to cover the rough areas with pictures so they wouldn't be noticeable.

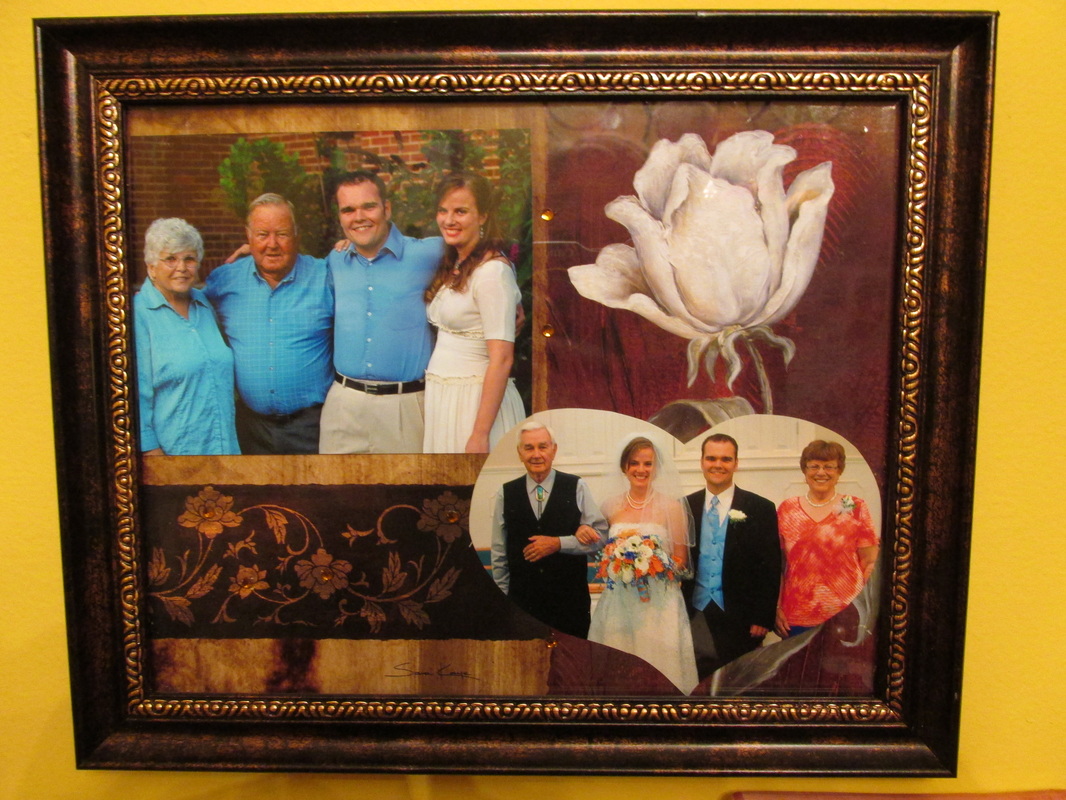
5. Step five: pick which photos you are going to add to the artwork
Now we leave the technical aspect of things and get into the fun artsy part. This is really where your scrapbooking experience will kick in, because at first glance the pictures and art are either not compatible or don't fit. You'll have to use your imagination and plan out how you will make everything fit.
Now we leave the technical aspect of things and get into the fun artsy part. This is really where your scrapbooking experience will kick in, because at first glance the pictures and art are either not compatible or don't fit. You'll have to use your imagination and plan out how you will make everything fit.
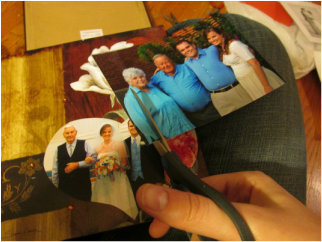
6. Step Six: Crop your photos
Maaaan I was shocked at how out of practice I was! I used to grab a pair of scissors and snip away at a picture without a second thought. Or we had those lovely templates that you could use to draw onto the picture with a special acid-free pencil and cut over the lines... or those dear swirly swoopy templates that cost a fortune and a half with the little razors that fit into the grooves with all those warnings about how children could cut off limbs with those teeeeeeeny blades... aaah the good old days. Oh well... freehand it is these days!
Maaaan I was shocked at how out of practice I was! I used to grab a pair of scissors and snip away at a picture without a second thought. Or we had those lovely templates that you could use to draw onto the picture with a special acid-free pencil and cut over the lines... or those dear swirly swoopy templates that cost a fortune and a half with the little razors that fit into the grooves with all those warnings about how children could cut off limbs with those teeeeeeeny blades... aaah the good old days. Oh well... freehand it is these days!
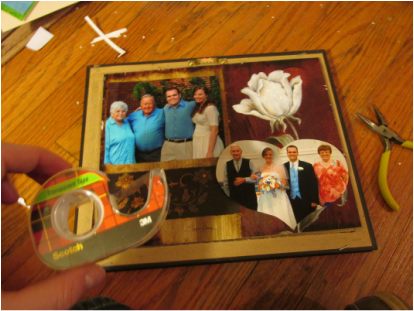
7. Step Seven: Attach your pictures onto the artwork
If you are on top of things, super organized or are inclined to dash off to the nearest craft store and purchase some, I supposed the special acid-free tape that also cost an arm and a leg and the promise to name your first child after the the manufacturer is what one ought to use. Or if you're like me you'll grab tape leftover from Christmas gift wrapping and double it over on itself and not bother with double sided tape even. :-) I may be doing a trendy DIY blog post but I refuse to portray myself as one of those ladies who blissfully has all white furniture and a house that is ALWAYS immaculately clean. Seriously. DIY means do it YOURSELF, for real people in the real world. None of this white-couch nonsense. While I'm on this particular rant, let me take a moment to say that yes, you are seeing correctly that this craft is being done on the floor or on my lap. I have a craft room upstairs but it is currently being used as the, "Oh crap company's coming quick hide the mess!" room.
If you are on top of things, super organized or are inclined to dash off to the nearest craft store and purchase some, I supposed the special acid-free tape that also cost an arm and a leg and the promise to name your first child after the the manufacturer is what one ought to use. Or if you're like me you'll grab tape leftover from Christmas gift wrapping and double it over on itself and not bother with double sided tape even. :-) I may be doing a trendy DIY blog post but I refuse to portray myself as one of those ladies who blissfully has all white furniture and a house that is ALWAYS immaculately clean. Seriously. DIY means do it YOURSELF, for real people in the real world. None of this white-couch nonsense. While I'm on this particular rant, let me take a moment to say that yes, you are seeing correctly that this craft is being done on the floor or on my lap. I have a craft room upstairs but it is currently being used as the, "Oh crap company's coming quick hide the mess!" room.
 8. Step Eight: Reinsert the dolled-up artwork and retape the brown paper to the frame. I didn't bother with retacking anything... I was afraid I would hit it too hard with my hammer and shatter the glass. And yes I did take a picture of me taping the back of the frame. Everyone takes closeups of their nails, why not me? :-) | 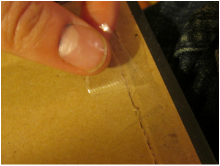 |
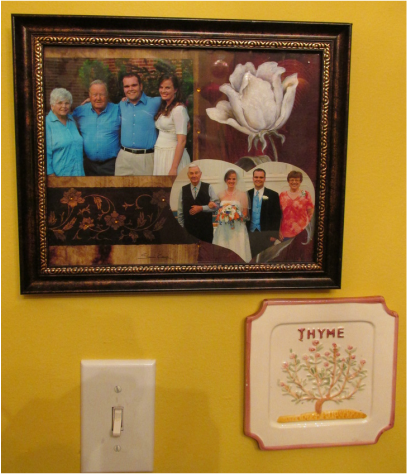
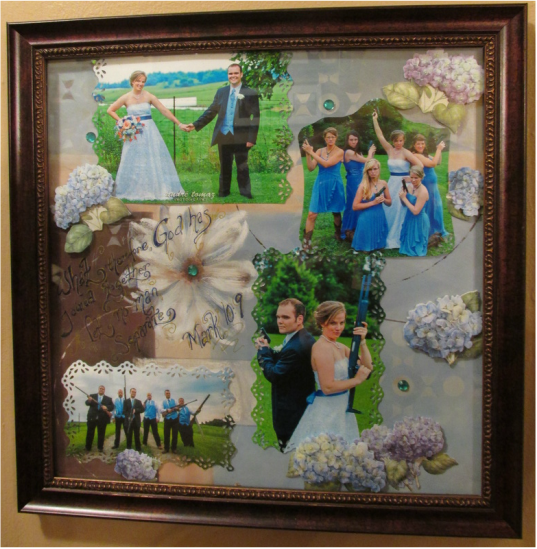
9. Step Nine: Hang up your piece of artwork and enjoy!
 RSS Feed
